Having lifts in homes isn’t just a luxury anymore; it’s a necessity for many families looking to improve accessibility, convenience, and property value.
Whether you’re installing one for an elderly family member, to make your home more accessible, or just for added convenience, the process of installing a lift can be straightforward if done correctly.
Here is the step-by-step guide on how the best installation of elevators and lifts for homes is done.
Step 1:
Selection of the Best Elevator Company
The right beginning in having an effortless installation lies within choosing the best elevator company like Attico Elevators.
Look for a company that is recognized to give their best at offering residential elevator and lift installations.
Try them out; make sure that their experience covers extensive experience of many brands available as well as meeting all domestic lift and elevator installation required credentials.
An ideal contractor would understand your house by carrying out a proper assessment before offering any appropriate recommendation and tailored solutions fitting all your budgets.
Key Considerations:
- Reputation and reviews of the company.
- Certifications and compliance with safety standards.
- Warranty and after-sales service.
Step 2:
Choosing the Type of Lift
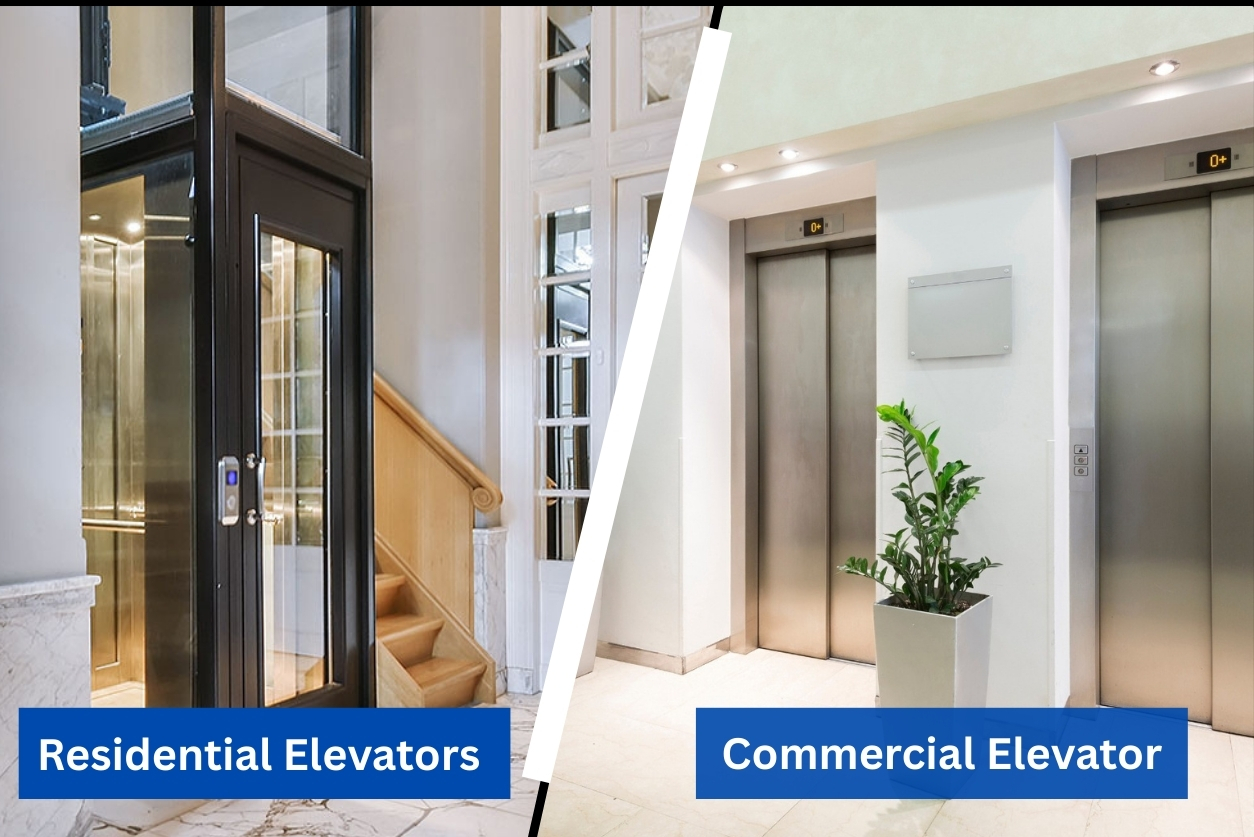
After you’ve selected the best elevator company, you need to select the type of lift that would be best for your home.
The choice is based on budget, space availability, and the specific needs of the family. The most common types are as follows:
- Hydraulic Lifts: Hydraulic fluid powers the lift, moving it up and down. They are most suitable for low-rise buildings and are very smooth in operation.
- Traction Lifts: Using ropes and counterweights, traction lifts are very efficient and perfect for tall buildings. The Machine Room-Less (MRL) variants consume less space and construction costs.
- Pneumatic Lifts: These compact lifts operate using air pressure and are ideal for small homes.
By consulting a professional, you will ensure your choice is matched with the best installation of an elevator and lifts for homes.
Step 3:
Customizing Your Lift
Customization is an important step to ensure the lift complements your home’s design and functionality.
Most companies that offer the best residential elevator and lift installation will also offer options for customization. Here’s what you can personalize:
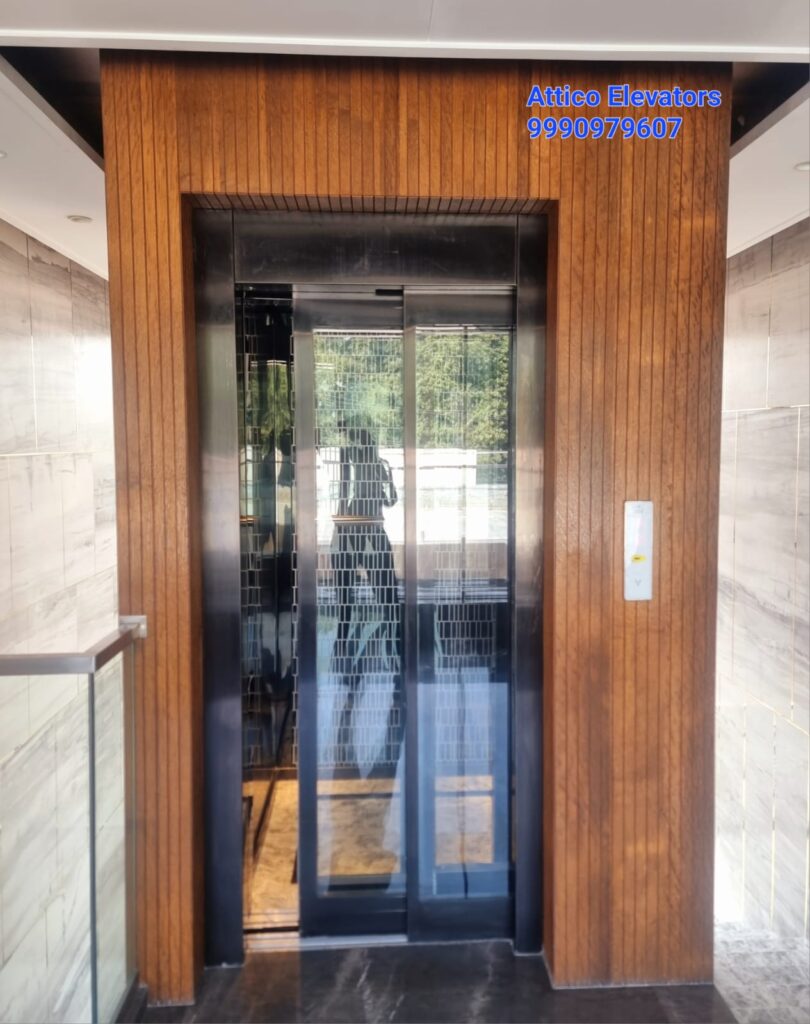
- Interior Design: You may select finishes such as wood, metal or glass in line with your home’s aesthetic.
- Lighting: Install LED lights, chandeliers, or decorative fixtures to enhance the style.
- Control Panels: Select modern and user-friendly buttons.
- Additional Features: You may add mirrors, handrails, or even a small seat to make it more cozy.
Step 4:
Preparing Your Home
You will have to prepare your home for the installation of the equipment. The contractor will guide you through these steps:
Structural Changes: Depending on the model of the lift, structural changes such as a lift shaft or wall reinforcement may be necessary.
Electrical Upgrade: Your home wiring must be capable of managing the power requirements of the lift.
- Obtain the required permits to meet local regulations.
- Remove furniture and other items that may interfere with the installation.
- Proper preparation will also ensure a seamless process for domestic lift installation.
Step 5:
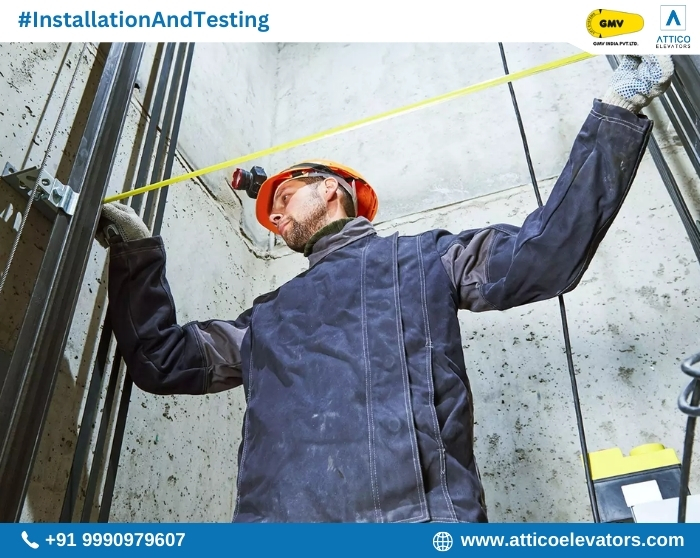
Installation and Testing
The actual installation takes place after the home is prepared. The general steps include:
- Delivery and Inspection: The delivery of lift parts takes place along with their inspection for correctness to the order placed and no signs of damage.
- Construction of Shaft: In most cases, a shaft is built to contain the lift car and the machinery.
- Installing the Lift System: The motor, control panels, and other essential mechanisms are set up. For a domestic lift or elevator installation, the process is specifically designed to fit into a residential space in a way that causes minimal disturbance.
- Assembling the Lift Car: The car is installed in the shaft with customized interiors.
- Testing and Safety Checks: Before the lift is handed over, it undergoes rigorous testing to ensure smooth operation and compliance with safety standards. Emergency systems, weight limits, and performance are all evaluated.
Step 6:
Maintenance and Aftercare
After installation, maintenance of your lift is essential for safety and longevity. The company that provides the best installation of elevators and lifts for homes usually offers maintenance packages.
Schedule regular check-ups to ensure that your lift remains in top condition. Pay special attention to cleaning, lubrication, and the functionality of safety systems.
Conclusion
Installing a lift at home is one of the transformative decisions that will make your house more accessible, comfortable, and valuable.
The process can be seamless if proper planning is made and the right professionals skilled in the best residential elevator and lift installation are selected.
You will be able to enjoy the benefits of a well-installed lift for years if you understand the steps and prepare your home.


